You know when you make an offer and discover you're in over your head?
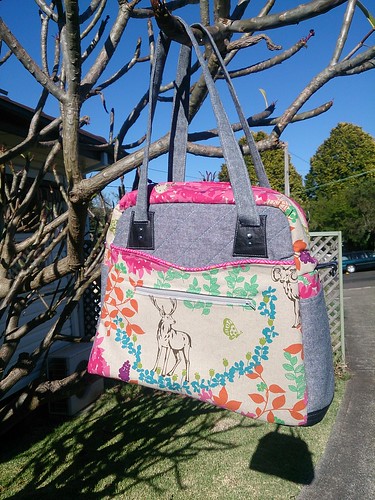
I offered to test the Shiloh Satchel when Alyssa Lichner of Pile O'Fabric requested for pattern testers for her Shiloh Satchel. It was so pretty! And purse-y! And it had piping!
Four weeks later, a missing delivery, the *facepalm* that I didn't order enough leather, the realisation that the linen is loose-weave and probably not a good idea for delicate work, three broken leather needles, a flat-out 'are you effing kidding me?' from my Juki DX, a reluctant 'okay I can do this but it's going to take everything I've got' from my Juki TL98-P, and an almost-pulled shoulder and I have the first one done.
Whew!
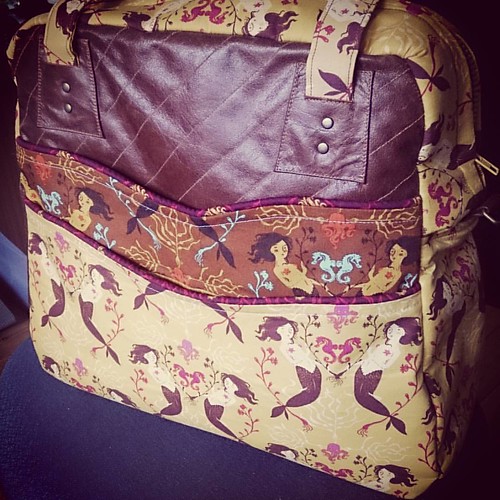
Echino linen, Robert Kaufman's Essex Linen in Indigo, Arizona Leather in Black (available from Pile O'Fabric), and Kate Spain for the linings and piping:
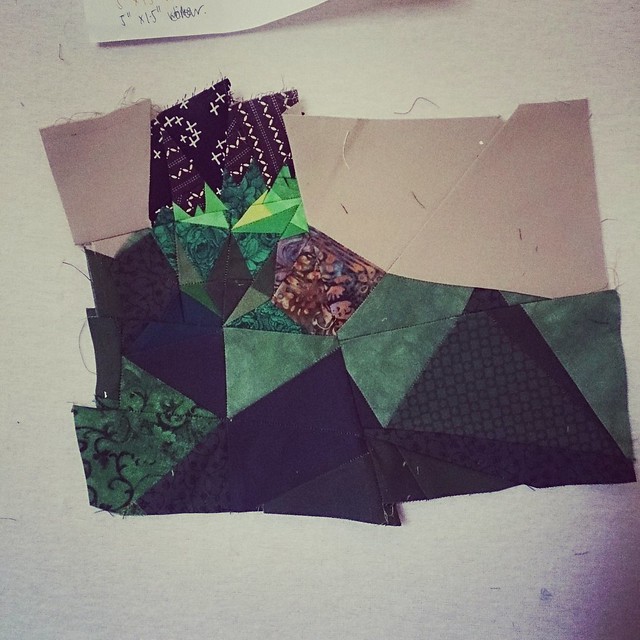
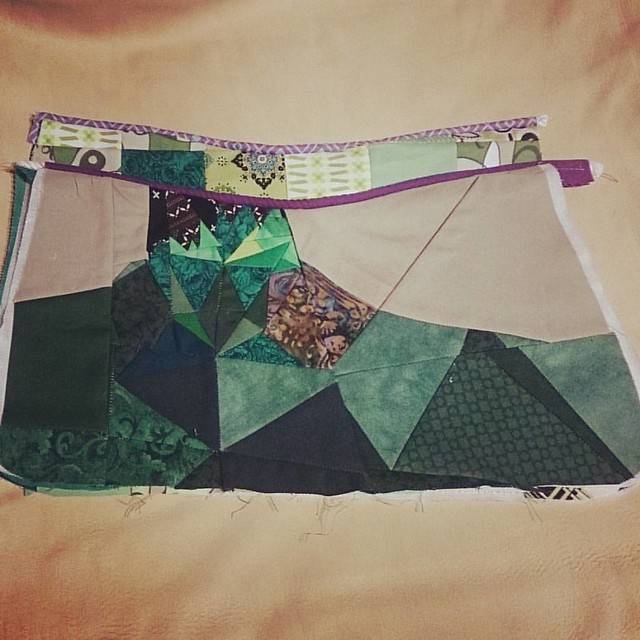
I fussy-cut the panels because Echino Linen designs are so gorgeous how can you possibly not try to incorporate them?
Essex Linen for the 'Exterior Accent' which includes Strap Connectors, the upper sides of the bag, and the pockets.
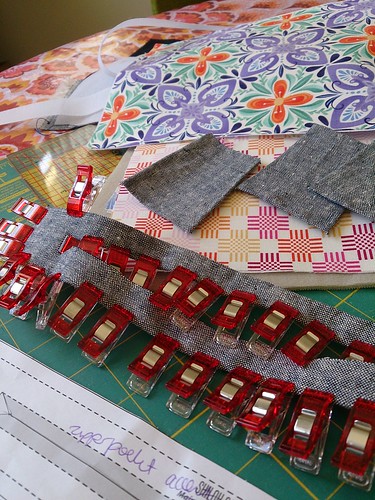
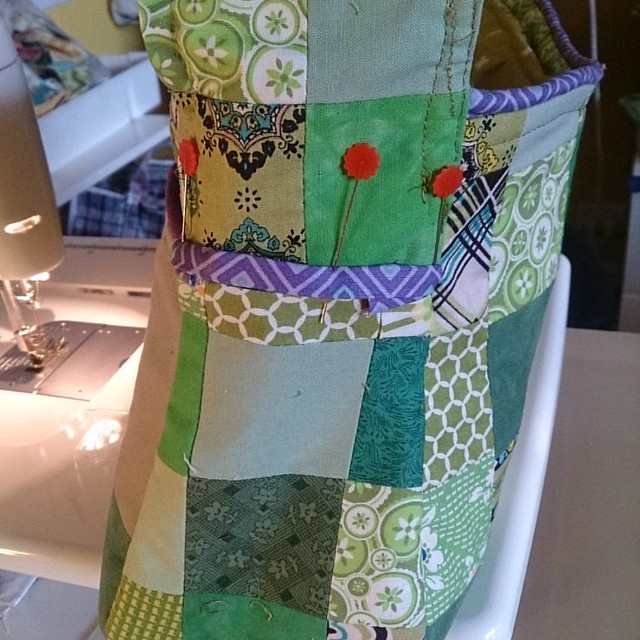
And then I realised that the linen was entirely too loose a weave to do the fiddly little bits of the smaller Exterior Accents, so I went and used a piece of leather for certain parts of the Exterior Accent - namely the Main Strap Connectors, and the Side Strap Connectors. Which I think gives it just a touch of professionalism!
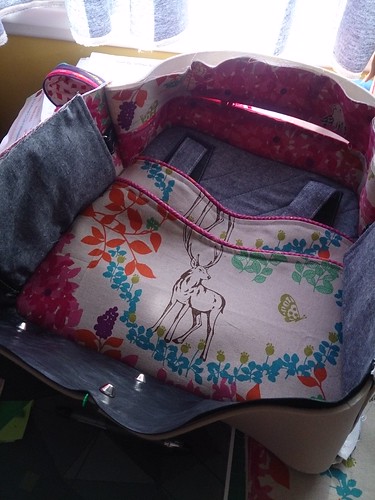
So, the thing about this bag is that it has a LOT of pockets. A LOT. Pockets on the front, pockets on the back, pockets on the sides, pockets on the inside. The only place it doesn't have a pocket is on the strap and on the base, and I'm sure you could work something out if you really needed it, but frankly there are so many other pockets, I don't know why you would...
And then I added at least one pocket on the inside (and took one away). But more on that later.
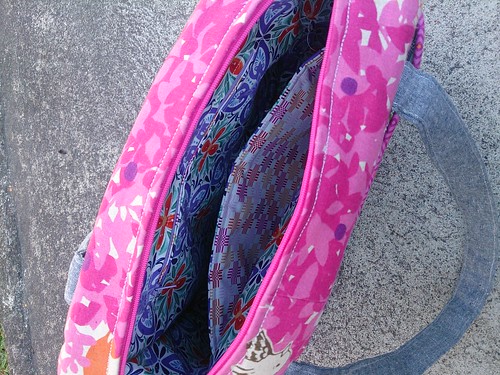
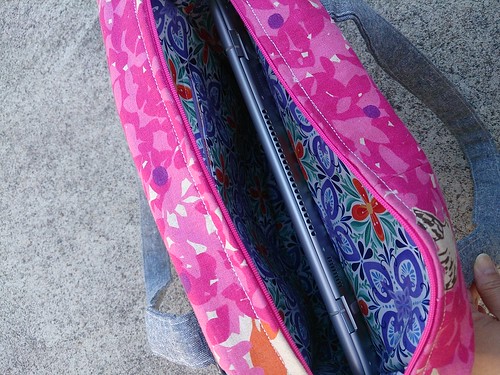
This is the lining, with pockets:
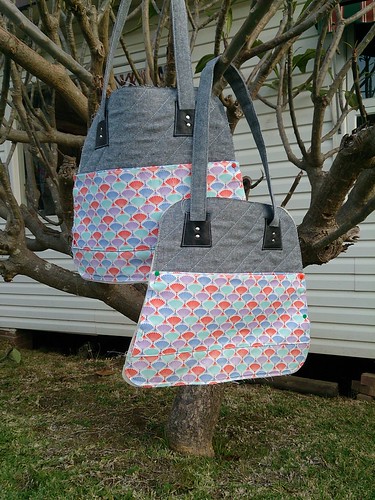
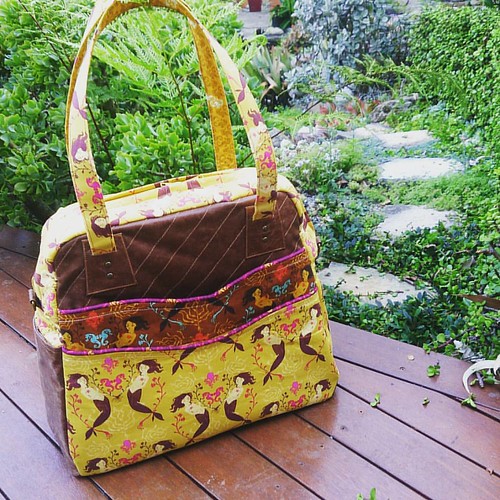
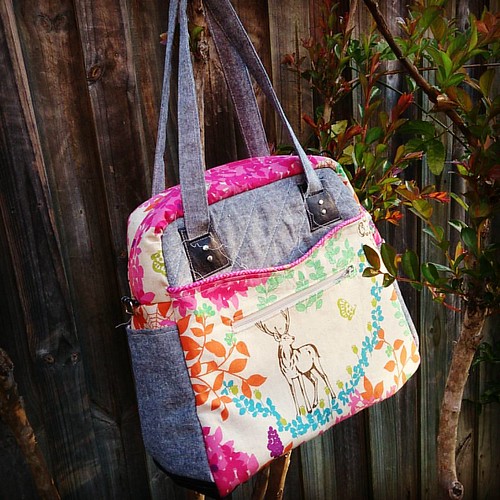
This is the bag exterior, covering the lining and pockets, held by my sister:
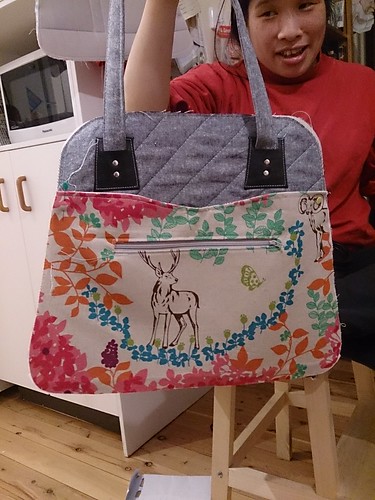
And yes, that's a zipper pocket on the front.
It looks pretty stunning when you've fussy-cut your fabrics! And I thought it would look ever more stunning if (assuming you use a woven Exterior Accent fabric) you FMQ'd motifs into the fabric instead of just sewing straight lines. But my skill was not up to my ambition, so perhaps in future, but not this time...
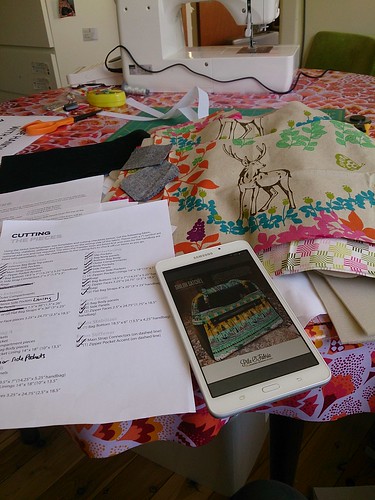
There are a lot of pieces to this. Half the battle of this was in cutting everything out, working out what went where. The other major battle was sewing the exterior of the bag together; my 'dressmaking machine' (Juki DX) wasn't up to the task, so I went for the workhorse machine: Mako Mori, my Juki TL90-P, who struggled with some of the fabric thicknesses but slowly managed to get it all done....breaking three leatherwork needles in the process.
I'm going to have to get Mako serviced before the end of the year.
One of the issues is that at one point the needle is trying to go through about 8-9 layers of fabric and interfacing, including some serious craft stiffener because that was what I had, and I'd procrastinated enough in making this that I didn't want to keep going. I think next time I'll try the recommend Peltex 71F (when I manage to haul my ass out to Spotlight) I saw the needle actually
bend in the shaft, trying to get it through, and often it required manual repunching (turning the handwheel) to get it through. So, it was a Herculanean effort to get this done.
Exterior on Saturday afternoon:
Finished at the #saturdaynightcraftalong (hosted by @barefootcrafter in the Eastern hemisphere and by...someone else in the Western hemisphere).
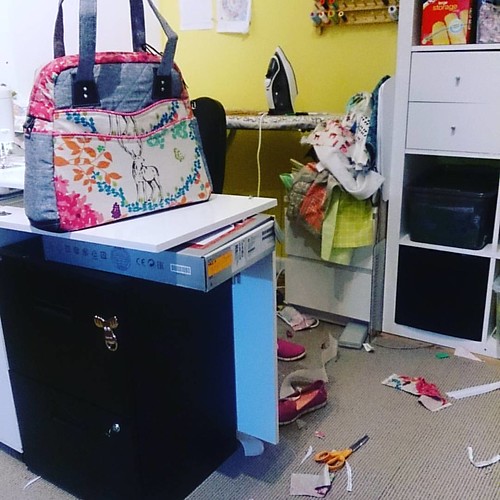
Pay no attention to the mess of my workspace. The cleaning lady was by just this morning and has vacuumed it so it's now beautifully clean. (She loves cleaning up my workroom; apparently it gives her a feeling of great satisfaction, and who am I to deny her that? ;D)
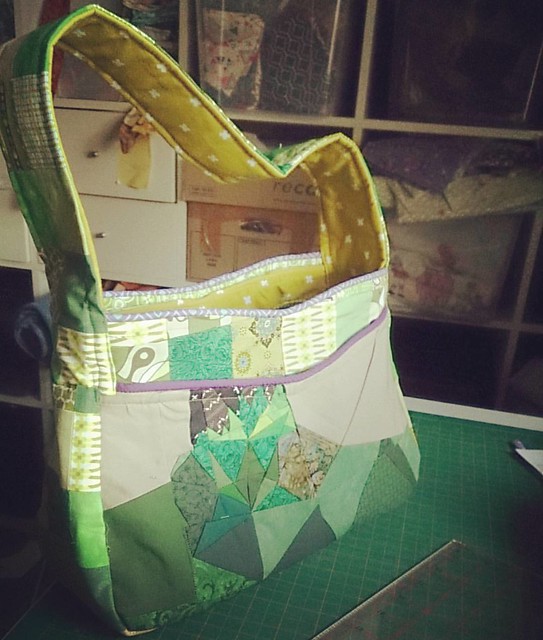
The front:
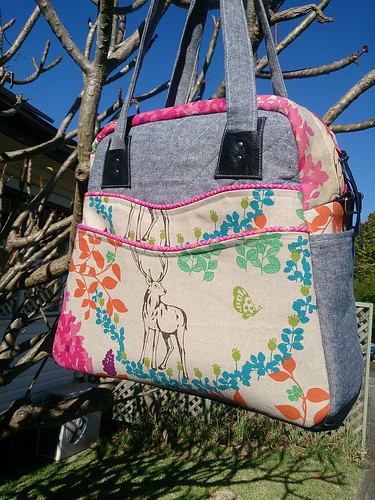
The back:

Now, as I said, this bag has SERIOUS POCKETS. But Alyssa designed it to have lots of space for baby things on the inside, and probably her notebooks/tablet/phone on the outside.
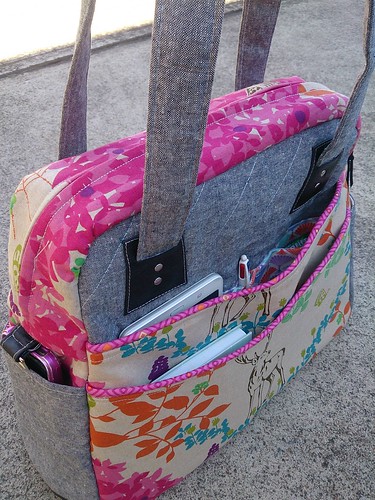
Me? I live in a city, I'm a single woman, and the biggest thing I'm carting around in my bag is my laptop. I don't want to give anyone with light fingers the opportunity to nick my stuff, so I tend to prefer my pockets on the inside - including a padded pocket for carrying a 15" laptop! I took out one of the two internal zippered pockets instead, because I don't need that many zippered spaces.
The next version I make will have more pockets on the inside, fewer on the outside. That should also cut down on the layers when trying to sew the bag exterior, and will give Mako (my Juki TL98-P) an easier time of it!
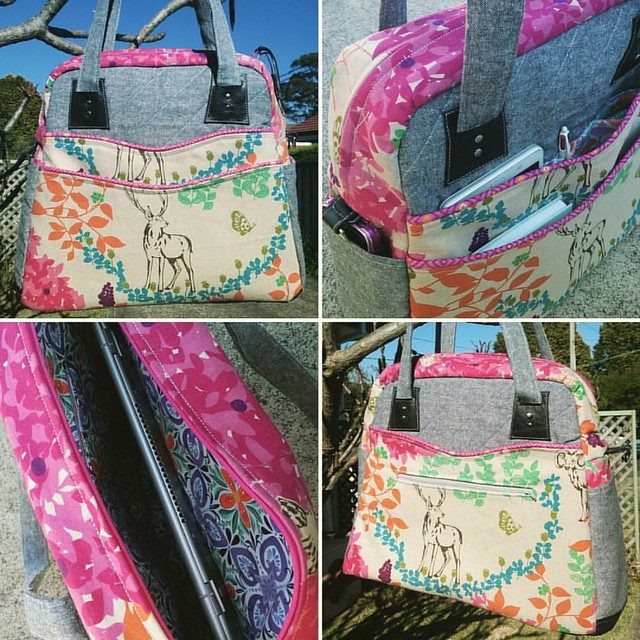
It doesn't look as professional as some of the other testers' bags (they look like they could be sold in a fancy shop for a couple hundred bucks), but I rather like it, and I'm thinking I'll gift it to a friend who's been having tooth issues all year and is struggling. Fill it with goodies, box it up, mail it off! All good.
And now to type up my notes on the pattern.