I didn't get my WIP Wednesday in last week - too many things going on, too much happening, not enough time to write up a post.
This week, things are no less crazy, but I'm a little better prepared. :D
Finished
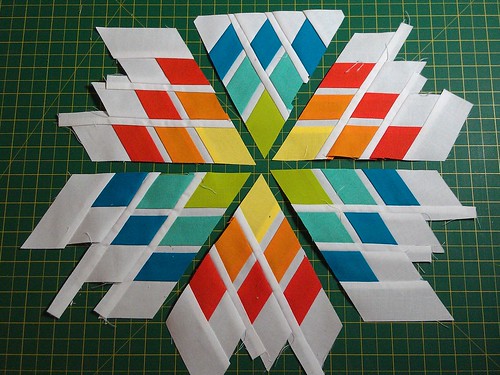
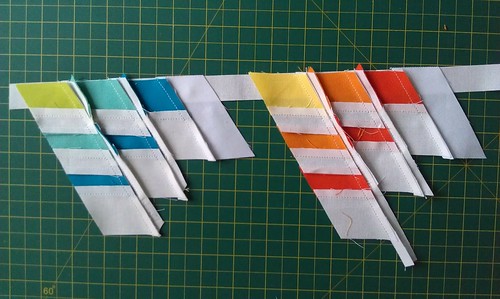
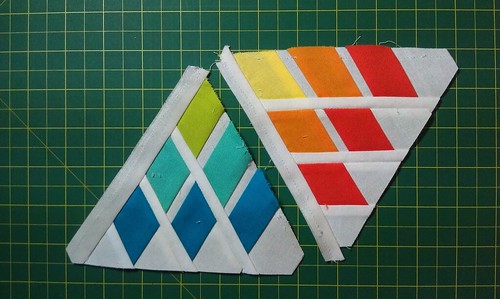
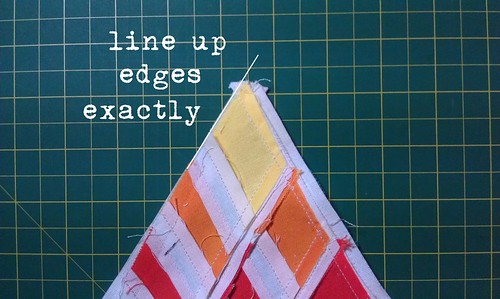
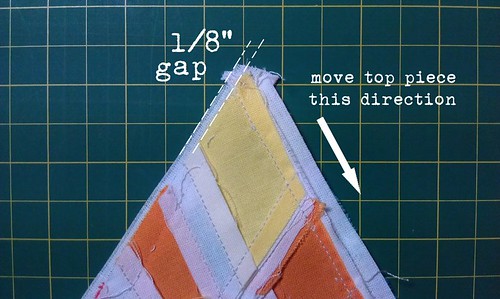
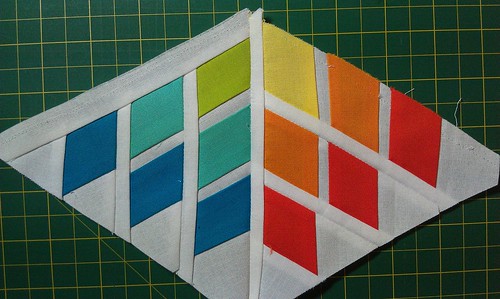
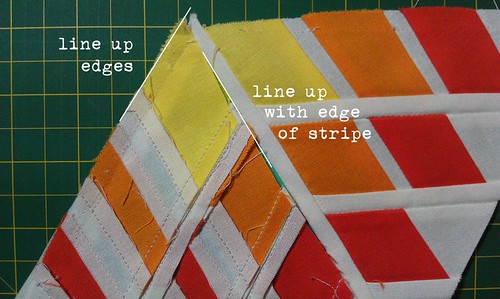
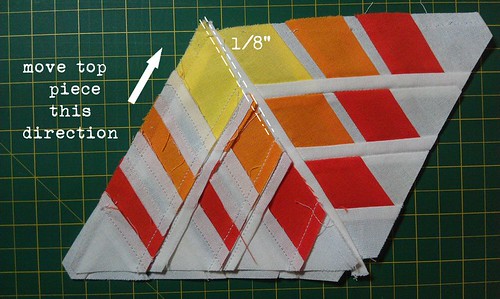
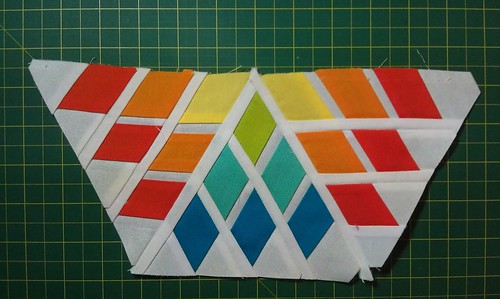
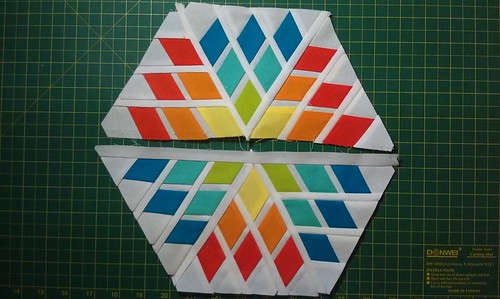
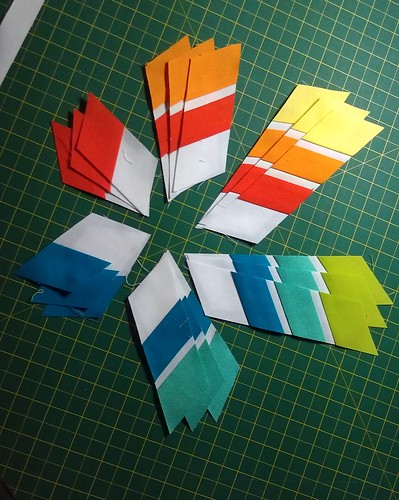
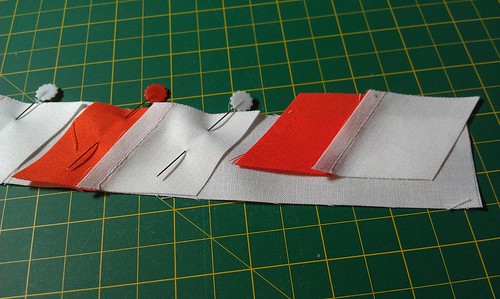
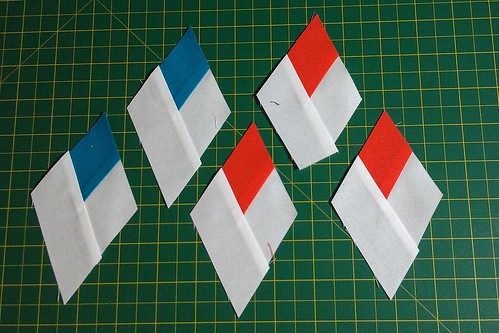
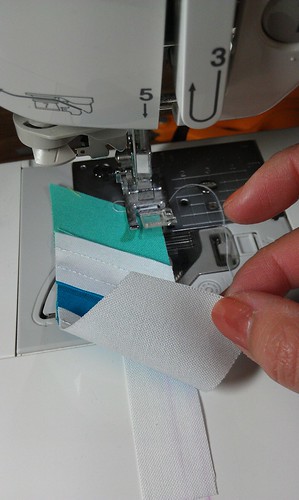
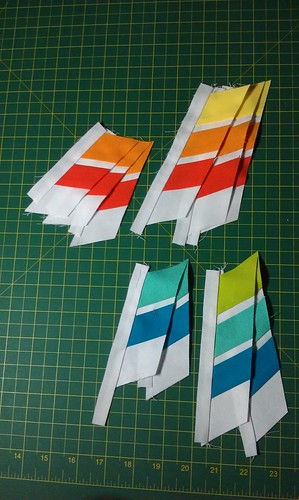
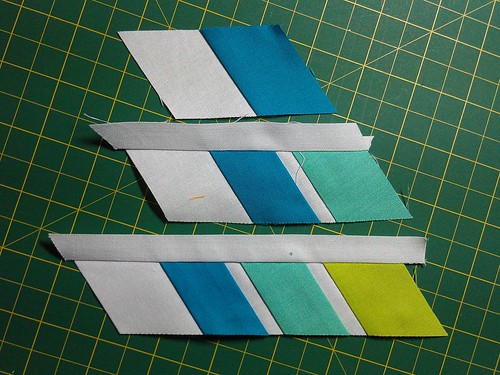
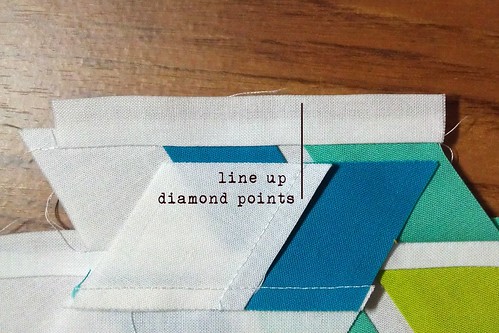
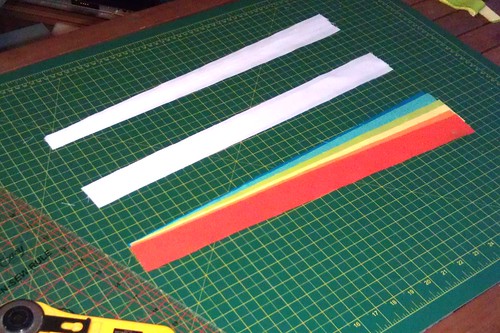
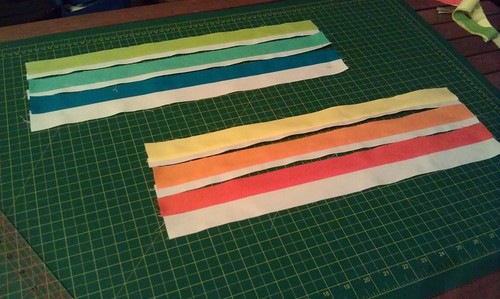
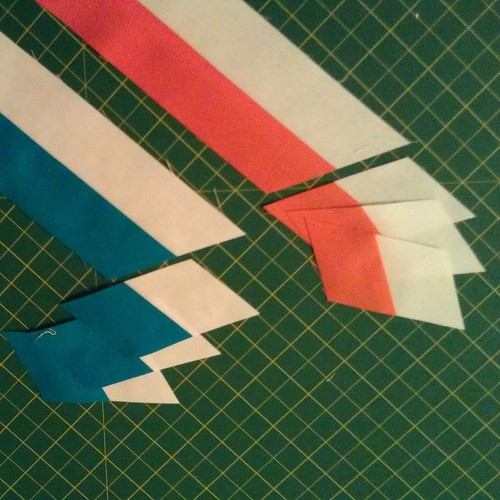
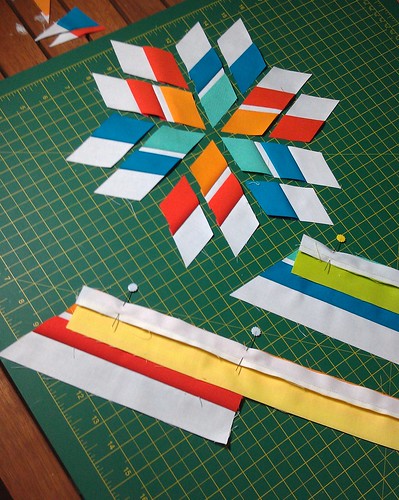
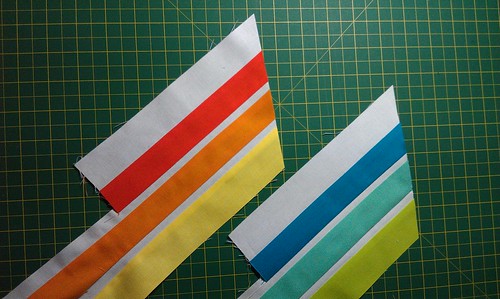
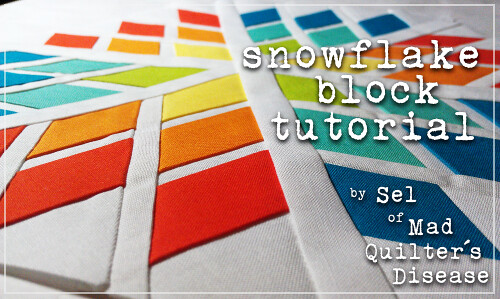
The Snowflake Block Tutorial!
Tutorial by Sel @ The Mad Quilter
I really have to make an entire quilt out of these. They may be tricksy fiddly to make, but they really are stunners.

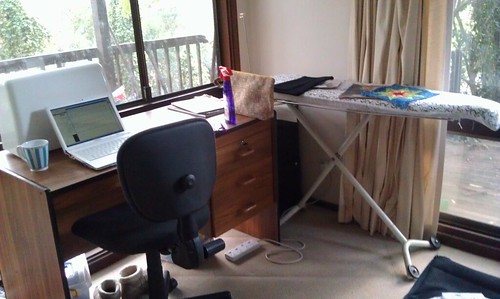
My Sewing Space!
I finally have a sewing desk with the ironing board right beside me! I have a cutting table with lots of light! A fabric stash! A haberdashery and 'other things' space!
And...*drum roll*...a design wall!
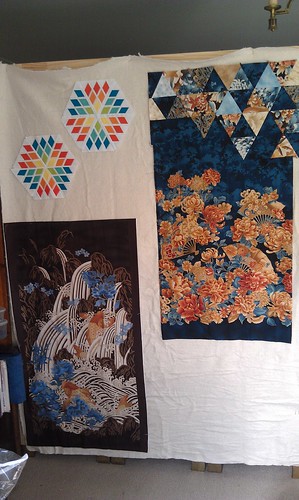
Not a lot of space on it, so I'll have to be judicious about what goes up there. And it needs better stapling down along the top and sides and bottom. I ran out of staples along the way.
WIPs
Father's Day gift for Stepfather
My mum asked me to make a couple of body pillow covers for the stepdad a couple of years ago. ...and I only just started on them in the last week.
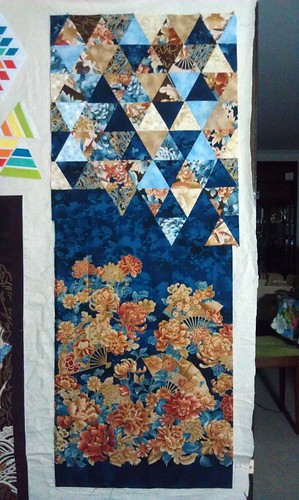
The goal is to have them done for Father's Day on Sunday. (In Australia, Father's Day is in September, which I rather like.) Although, technically, our Father's Day celebration will be on Saturday since it's easier on our schedules.
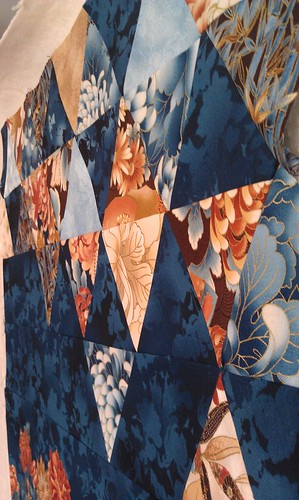
I'm not convinced of the triangles as a suitable block to work with the flowers-and-fans. I borrowed a Marti Mitchell quilt template off Penny Poppleton (and had to return it so she could get her Modern Patchwork "Honey" quilt for Greta's Handcraft Centre done before Saturday!) Maybe they should have been smaller? *grimace* I hate the indecision of making something like this.
Still deciding about whether I want to quilt it or not... And then there's the question: to add a ruffle, or not to add a ruffle?
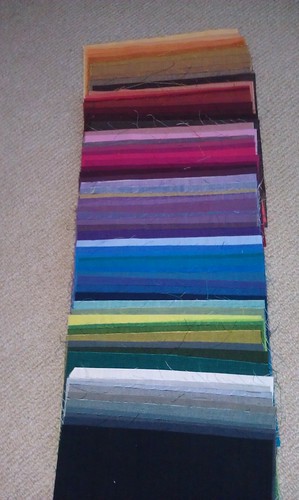
The Stash
Sorting, arranging, displaying...
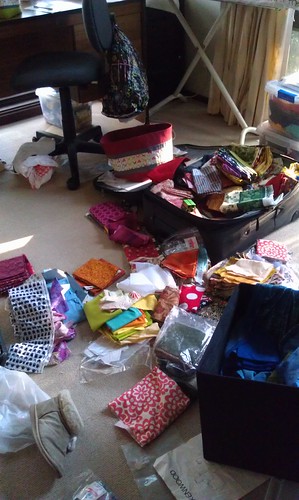
By colour...
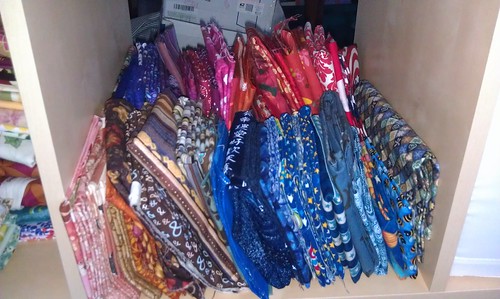
And collection...
Oh! And look what arrived this week: Mendocino Mermaids!

I blame Penny and Pinky for introducing me to Mendocino Mermaids. Yes. Yes, I do.
I think these will be used a la Quilting Modern's "To The Point" quilt. Because that's a wonderful, effective way to work with scraps.
Other Things

The first meeting of the North and Eastern Sydney MQG was small and intimate and cheerful.
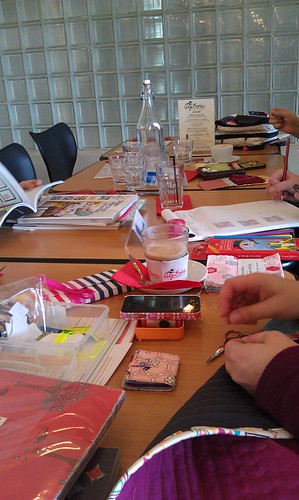
But there are big things moving in the works. Big Things!
There's another sew-in this Friday night, City Extra, Circular Quay, from 5pm. If you’re in the area, we'd love to see you there.
And that's it from me. What about you? Don't forget to head over to the linky party and leave your links, check out what other people are working on, and comment for the love!